
Facing microphone silence? This comprehensive guide walks you through every step to turn on the microphone, whether it’s built-in, external, or wireless. Discover how to check physical connections, adjust crucial privacy and sound settings on Windows and macOS, and configure microphone access within your favorite apps like Zoom or Teams. You’ll also find practical troubleshooting tips to resolve common audio issues quickly, ensuring your voice is heard loud and clear.
Ever found yourself in a crucial online meeting, trying to record a voice note, or simply chatting with friends, only to realize no one can hear you? It’s a common, frustrating scenario. The question, “How do I turn on the microphone?” might seem simple, but the answer often involves a few layers of settings and checks. Don’t worry, you’re not alone, and getting your microphone to work usually isn’t as complicated as it seems. Most of the time, it’s a quick fix that requires knowing where to look.
A microphone is your digital voice, connecting you to the world of online communication, content creation, and even gaming. When it decides to stay silent, it can throw a wrench in your plans. Whether you’re using a built-in mic on your laptop, a fancy new USB microphone, or a trusty headset, understanding the steps to activate and troubleshoot it is a valuable skill. This comprehensive guide will walk you through everything you need to know to ensure your microphone is always ready to pick up your voice, loud and clear.
We’ll cover everything from the basic physical connections to deep-diving into operating system settings on both Windows and macOS, right down to individual application permissions. By the end of this article, you’ll be a pro at making sure your microphone is turned on and functioning perfectly. Let’s get started on learning exactly how to turn on the microphone and conquer those silent audio woes!
Key Takeaways
- Check Physical Connections & Mute Buttons: Always start by ensuring your microphone is properly plugged in, powered on (if applicable), and any physical mute switches or software mute buttons are off.
- Grant OS-Level Permissions: Both Windows and macOS require explicit permission for applications to access your microphone. Navigate to your system’s privacy settings to allow microphone access.
- Select Correct Input Device: Within your operating system’s sound settings (or control panel), make sure the correct microphone is chosen as the default input device and its volume levels are adequately set.
- Configure App-Specific Settings: Many applications (like Zoom, Microsoft Teams, Discord, or web browsers) have their own internal microphone settings that can override system defaults. Always verify these within the app itself.
- Update Drivers & Test Regularly: Outdated or corrupt drivers can cause microphone issues. Ensure your audio drivers are up to date. Regularly test your microphone using built-in sound testers or simple recording apps.
- Troubleshoot Systematically: If your microphone isn’t working, follow a step-by-step troubleshooting process: restart your device, check for hardware conflicts, run built-in troubleshooters, and consider re-installing drivers.
- Understand Microphone Types: Be aware of whether you’re using a built-in microphone, an external USB mic, a headset, or a Bluetooth device, as each type has slightly different setup and troubleshooting considerations.
📑 Table of Contents
- 1. The Basics: Identifying Your Microphone and Initial Checks
- 2. Windows Settings: Granting Your Microphone Permission
- 3. macOS Settings: Enabling Your Microphone
- 4. App-Specific Microphone Settings: Don’t Forget Them!
- 5. Troubleshooting Common Microphone Issues
- Conclusion: Mastering Your Microphone
1. The Basics: Identifying Your Microphone and Initial Checks
Before diving into complex settings, let’s start with the absolute fundamentals. Sometimes, the solution to “How do I turn on the microphone?” is incredibly simple!
What Kind of Microphone Do You Have?
Knowing your microphone type helps narrow down potential issues.
- Built-in Microphones: Most laptops, webcams, and all-in-one PCs have microphones built right in. They are convenient but often offer lower audio quality compared to external options.
- External USB Microphones: These plug directly into a USB port on your computer. They’re popular for their ease of use and often superior sound quality. Examples include Blue Yeti, Rode NT-USB Mini, etc.
- Headsets (3.5mm Jack or USB): A headset combines headphones and a microphone. Some connect via a single 3.5mm TRRS jack (for newer devices), two 3.5mm jacks (one for mic, one for headphones, for older PCs), or a USB cable.
- Bluetooth Wireless Microphones: These connect wirelessly to your device. This category includes wireless headsets, earbuds with mics, or dedicated wireless microphone systems.
Check Physical Connections and Power
It sounds obvious, but you’d be surprised how often this is the culprit. When asking “How do I turn on the microphone?”, always begin here.
- For USB Microphones: Make sure the USB cable is firmly plugged into both the microphone and your computer. Try a different USB port if it’s not recognized.
- For 3.5mm Jack Microphones/Headsets: Ensure the plug is fully inserted into the correct port. On PCs, the microphone jack is often pink or has a microphone icon. If you have a single 3.5mm jack headset, ensure your computer supports a combined audio/mic port, or use a splitter.
- For Bluetooth Microphones: Is it charged? Is it paired with your device? Make sure Bluetooth is enabled on your computer and the microphone is in pairing mode or already connected.
- Power: Some external microphones require their own power source. Make sure it’s plugged in and switched on.
Look for Mute Buttons or Switches
Many microphones, especially on headsets, have a physical mute button or switch right on the cable or the microphone itself. Always check this first! A simple press or flick might be all you need to turn on the microphone.
2. Windows Settings: Granting Your Microphone Permission
Windows has robust privacy controls, and sometimes your microphone is off because Windows is deliberately blocking apps from accessing it. Here’s how to turn on the microphone in Windows settings.
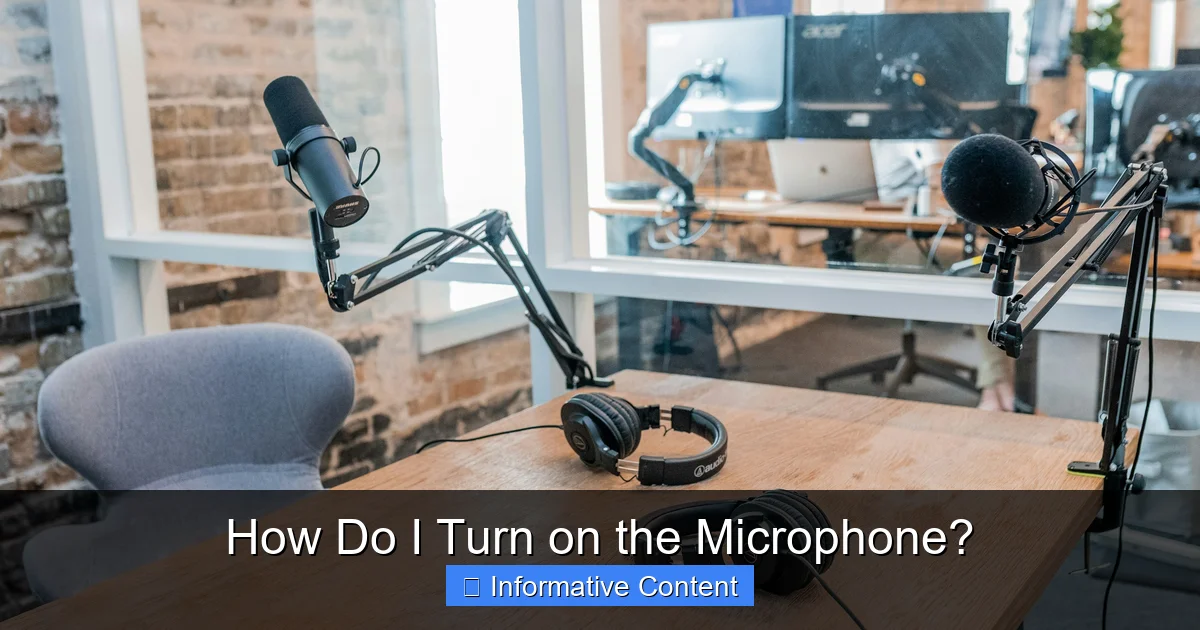
Visual guide about Microphone
Image source: images.unsplash.com
Check Microphone Privacy Settings
This is a critical first step on Windows. Your computer might be physically connected to the microphone, but Windows could be preventing apps from using it.
- Go to Start > Settings > Privacy & security (Windows 11) or Start > Settings > Privacy (Windows 10).
- On the left-hand menu, select Microphone under “App permissions.”
- First, ensure “Microphone access” (Windows 11) or “Microphone access for this device” (Windows 10) is toggled On. If it’s off, no apps can use your mic.
- Next, make sure “Let apps access your microphone” (Windows 11) or “Allow apps to access your microphone” (Windows 10) is also toggled On.
- Scroll down to “Choose which apps can access your microphone” (Windows 11) or “Choose which Microsoft Store apps can access your microphone” and “Allow desktop apps to access your microphone” (Windows 10). Ensure the specific apps you want to use the microphone are allowed access. For desktop apps (like Zoom, Chrome), the “Allow desktop apps to access your microphone” toggle is key.
Configure Sound Settings and Input Device
Even if apps have permission, you need to tell Windows which microphone to use.
- Right-click the speaker icon in your taskbar (bottom right) and select Sound settings (Windows 11) or Open Sound settings (Windows 10).
- Under the “Input” section, click the dropdown menu for “Choose a device for speaking or recording” (Windows 11) or “Choose your input device” (Windows 10).
- Select your desired microphone from the list. It might be listed by its brand name (e.g., “Blue Yeti”), as “Headset Microphone,” or “Realtek(R) Audio” (for built-in mics).
- Test your microphone: Speak into your microphone. You should see a blue bar or “Input level” meter reacting to your voice. If it’s moving, your microphone is picking up sound!
- Adjust Volume: If the bar is very low, click on your microphone to go to its properties (Windows 11) or click “Device properties” (Windows 10). Adjust the “Volume” or “Level” slider to increase sensitivity. Don’t set it too high, or you might get distortion.
Check Device Manager for Drivers
Sometimes, the issue is with the microphone’s drivers.
- Right-click the Start button and select Device Manager.
- Expand Audio inputs and outputs.
- Look for your microphone. If you see a yellow exclamation mark next to it, there’s a driver issue.
- Right-click your microphone and select Update driver. Choose “Search automatically for drivers.”
- If that doesn’t work, try Uninstall device and then restart your computer. Windows will usually reinstall the driver automatically.
3. macOS Settings: Enabling Your Microphone
Just like Windows, macOS has its own set of privacy and sound preferences you need to adjust to turn on the microphone.
Adjust Microphone Privacy & Security Settings
macOS is very strict about app permissions for your microphone.
- Click the Apple menu in the top-left corner of your screen, then choose System Settings (macOS Ventura and later) or System Preferences (older macOS versions).
- Go to Privacy & Security (or Security & Privacy).
- In the left sidebar, click Microphone.
- You’ll see a list of applications that have requested microphone access. Ensure the checkbox next to the app you want to use is checked. If an app isn’t listed, it means it hasn’t requested access yet, or you haven’t opened it and tried to use the mic.
Configure Sound Input Settings
Now, let’s tell macOS which microphone to actively use.
- From System Settings (or System Preferences), select Sound.
- Click the Input tab.
- You’ll see a list of available input devices. Click to select your preferred microphone (e.g., “Built-in Microphone,” “External Microphone,” “Headset Microphone”).
- Test Your Microphone: Speak into the microphone. You should see the “Input level” meter react to your voice. If it’s moving, your mic is working!
- Adjust Input Volume: Use the “Input volume” slider to adjust how sensitive your microphone is. Find a balance where your voice is clear without distortion.
4. App-Specific Microphone Settings: Don’t Forget Them!
Even after configuring your operating system, many applications have their own internal audio settings that need to be checked. This is a common oversight when trying to figure out how to turn on the microphone within a specific program.
Video Conferencing Apps (Zoom, Teams, Meet)
These apps are notorious for having their own mic settings.
- Zoom: In a meeting, click the Up arrow next to the “Mute” button. Select your microphone under “Select a Microphone.” You can also go to Settings > Audio to test your mic and adjust volume.
- Microsoft Teams: Click your profile picture > Settings > Devices. Under “Microphone,” choose your preferred device and test it.
- Google Meet: Before or during a call, click the three-dot menu > Settings > Audio. Select your microphone from the dropdown list.
- Discord: Go to User Settings > Voice & Video. Under “Input Device,” select your microphone. Use the “Mic Test” button to check your levels.
Web Browser Permissions
If you’re using a web-based application (like a web version of Zoom, Google Meet, or an online voice recorder), your browser also needs permission to access your microphone.
- When a website requests mic access, you’ll usually see a pop-up in the address bar asking for permission. Always click Allow.
- If you’ve previously denied access, you might need to manually enable it.
- Chrome: Go to Settings > Privacy and security > Site Settings > Microphone. Ensure the website is listed under “Allowed to use your microphone.”
- Firefox: Go to Settings > Privacy & Security > Permissions > Microphone > Settings. Review and adjust permissions for specific sites.
- Edge: Go to Settings > Cookies and site permissions > Microphone.
Recording Software (Audacity, OBS)
Dedicated recording software often has more granular control over audio inputs.
- Audacity: Look for the microphone icon in the toolbar. Click the dropdown menu next to it to select your input device. Adjust input volume using the slider next to it.
- OBS Studio: In the “Audio Mixer” section, click the cog icon next to “Mic/Aux.” Select Properties and choose your device. Adjust volume using the slider.
5. Troubleshooting Common Microphone Issues
Sometimes, knowing how to turn on the microphone isn’t enough; you also need to troubleshoot when things go wrong. Here are some common problems and solutions.
“No Input Devices Found” or Microphone Not Appearing
This usually indicates a hardware or driver issue.
- Restart Your Computer: A simple restart can often resolve temporary glitches.
- Check All Connections: Re-plug USB cables, 3.5mm jacks. Try different ports.
- Test on Another Device: If possible, plug your microphone into another computer or device. If it works there, the issue is with your original computer.
- Update/Reinstall Drivers: As mentioned in the Windows section, outdated or corrupt drivers are a common cause.
- Check for Hardware Damage: Inspect cables, ports, and the microphone itself for any visible damage.
Low Volume or Distorted Sound
If your microphone is on, but the quality is poor:
- Adjust Input Volume/Sensitivity: In your OS sound settings (Windows or macOS) and within your application, ensure the input volume is not too low or too high.
- Proximity to Microphone: Speak closer to your microphone.
- Check for Software Enhancements: Some sound cards or applications have “noise suppression” or “echo cancellation” features that can sometimes distort sound. Try disabling them temporarily.
- Update Drivers: Ensure your audio drivers are up to date.
- Check Microphone Type: Built-in mics often have lower quality. Consider an external mic if quality is crucial.
Microphone Cuts Out or Stops Working Mid-Session
This can be particularly frustrating.
- Power Management: For USB devices, Windows/macOS might be turning off the USB port to save power.
- Windows: In Device Manager, find your microphone under “Audio inputs and outputs.” Right-click it, select Properties > Power Management. Uncheck “Allow the computer to turn off this device to save power.” Do the same for USB Root Hubs under “Universal Serial Bus controllers.”
- Interference (Wireless Mics): For Bluetooth mics, ensure there’s no interference from other wireless devices.
- Loose Connection: Re-check physical connections.
- System Overload: If your computer is running many demanding applications, it might struggle with audio processing. Close unnecessary programs.
Conclusion: Mastering Your Microphone
By now, you should be well-equipped to confidently answer the question, “How do I turn on the microphone?” and troubleshoot almost any common issue. We’ve journeyed through understanding different microphone types, meticulously checking physical connections, navigating crucial privacy and sound settings on both Windows and macOS, and fine-tuning permissions within your favorite applications.
Remember, the key is a systematic approach. Start with the simplest checks – is it plugged in? Is it muted? – and then move deeper into operating system permissions and application-specific settings. Don’t forget to regularly test your microphone to ensure it’s always ready when you need it.
With these steps, your voice will no longer be lost in the digital ether. You’re ready to communicate clearly, record with confidence, and participate fully in any audio-driven activity. Go forth and be heard!
🎥 Related Video: How to Enable Microphone On Iphone (:
📺 sLAAPPZZZ Grinds Yt
Today,We I will be showing You How to Enable Micheophone On Any Iphone (:
Frequently Asked Questions
How do I know if my microphone is on?
You can usually check if your microphone is on by looking at the input level meter in your operating system’s sound settings (e.g., Windows Sound settings or macOS Sound Input tab). If the meter reacts to your voice, your microphone is picking up sound. Many apps also have a visual indicator or a mic test feature.
Why is my microphone not showing up in settings?
If your microphone isn’t appearing in your sound settings, it often indicates a physical connection issue, a faulty cable or port, or a missing/corrupt driver. Ensure it’s firmly plugged in, try a different port, restart your computer, or check your device manager for driver problems.
Can I turn on my microphone remotely?
No, you generally cannot turn on your microphone remotely from another device in a direct sense. Microphone activation requires local interaction with the device’s settings or a physical switch. Remote desktop software allows you to control the settings of a remote computer, potentially enabling its microphone if allowed by that system’s permissions.
What’s the difference between a built-in and external microphone?
A built-in microphone is integrated directly into your device (like a laptop or webcam), offering convenience but often lower audio quality. An external microphone is a separate device that connects via USB, 3.5mm jack, or Bluetooth, generally providing superior sound quality and more control over placement and features.
How do I fix low microphone volume?
To fix low microphone volume, first check the input volume levels in your operating system’s sound settings and within the specific application you’re using. Ensure you’re speaking close enough to the microphone and consider disabling any noise suppression features that might be overly aggressive. If still low, you might need to adjust gain settings if your microphone has them.
Do I need drivers for my microphone?
Most modern USB and built-in microphones use generic drivers automatically installed by your operating system. However, some professional microphones or specific headsets may require custom drivers from the manufacturer for full functionality. Keeping your audio drivers updated is always a good practice to ensure optimal performance.